Showing posts with label candle making tutorial. Show all posts

Sunday, November 19, 2023

DIY Tutorial: How to Make Your Own Soy Candles

November 19, 2023 0 Comments
Soy candles are becoming increasingly popular due to their natural ingredients and eco-friendly nature. They are made from soy wax, which is derived from soybeans, and burns cleaner than traditional paraffin wax candles. Making your own soy candles is a fun and rewarding experience that can be done with just a few simple ingredients and tools. In this DIY tutorial, we will show you how to make your own soy candles from start to finish.

Materials You Will Need

To make your own soy candles, you will need the following materials:- Soy wax flakes- Candle wicks- Fragrance oil- Candle dye (optional)- Double boiler or a pot and heat-safe bowl- Thermometer- Stirring utensil- Container for the candle (e.g. mason jar, tin, or glass)

Step-by-Step Instructions

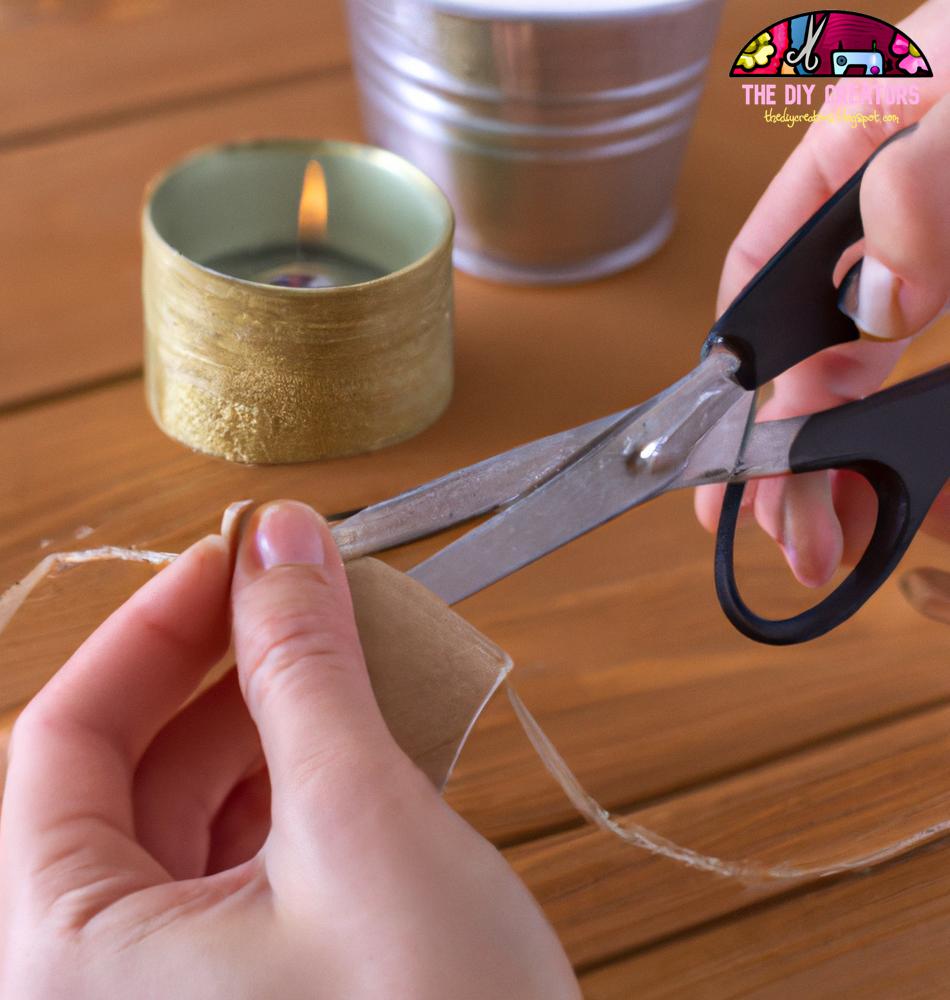
Now that you have gathered all the materials, let's get started on making your own soy candles.

Step 1: Prepare Your Container and Wicks

Choose the container you want to use for your candle and place the wick at the center of the container. You can use a wick sticker or hot glue to secure the wick in place.

Step 2: Melt the Soy Wax

In a double boiler or a pot with a heat-safe bowl, melt the soy wax flakes on low to medium heat. Use a thermometer to monitor the temperature of the wax. The ideal temperature for soy wax is between 160-180°F (71-82°C).

Step 3: Add Candle Dye (Optional)

If you want to add color to your candle, now is the time to add candle dye. Add a small amount of dye to the melted wax and stir well until the color is evenly distributed. Keep in mind that soy wax tends to have a lighter color than paraffin wax, so you may need to add more dye to achieve the desired color.

Step 4: Add Fragrance Oil

Once the wax has reached the desired temperature, remove it from the heat and add your fragrance oil. The general rule of thumb is to use 1 oz of fragrance oil per 1 lb of wax. Stir well to ensure that the fragrance is evenly distributed throughout the wax.

Step 5: Pour the Wax into the Container

Slowly pour the melted wax into the container, making sure to leave about ½ inch of space at the top. Let the candle cool and harden for at least 24 hours.

Step 6: Trim the Wick

Once the candle has hardened, trim the wick to about ¼ inch above the wax.

Final Thoughts

Making your own soy candles is a fun and easy DIY project that can be done in just a few simple steps. By using natural ingredients, you can create your own eco-friendly candles that not only smell great but are also safe to burn. With a little creativity, you can customize your candles with different scents, colors, and containers to create a unique and personalized experience. So why not give it a try and start making your own soy candles today?

Monday, March 20, 2023

How to Make Homemade Candles: A DIY Tutorial

March 20, 2023 0 Comments
Candles are a great way to add warmth and ambiance to your home, and they also make great gifts for friends and loved ones. Making your own candles is not only fun and creative, but it can also be cost-effective. In this DIY tutorial, we will show you how to make homemade candles step by step.

Materials Required

To make your own candles, you will need the following materials:- Wax (paraffin or soy wax)- Candle wicks- Candle dye (optional)- Fragrance oil (optional)- Double boiler or a saucepan and a heatproof bowl- Thermometer- Measuring cups and spoons- Stirring utensil- Container for the candle (jar or tin)

Step-by-Step Instructions

  1. Measure the wax. For every 1 pound of wax, you will need 1 ounce of fragrance oil and 1-2 drops of candle dye.
  2. Melt the wax in a double boiler or a heatproof bowl over a saucepan of boiling water.
  3. Once the wax has melted, add fragrance oil and candle dye (optional) and stir well.
  4. Check the temperature of the wax. The ideal temperature for adding the wick is between 120-140°F (49-60°C).
  5. Dip the wick into the melted wax and then place it in the center of the container. Use a chopstick or a pencil to keep the wick centered.
  6. Pour the melted wax into the container, leaving about 1/2 inch of space at the top.
  7. Let the candle cool and solidify completely. This will take several hours, depending on the size of the candle.
  8. Trim the wick to about 1/4 inch.
  9. Enjoy your homemade candle!

Tips and Tricks

- Use a double boiler or a heatproof bowl to melt the wax to prevent it from burning or catching fire.- Always use a thermometer to check the temperature of the wax before adding the wick.- If you want to add color to your candle, use candle dye instead of food coloring, as food coloring can stain and clog the wick.- Use fragrance oils specifically designed for candle making to ensure a strong and long-lasting scent.- Experiment with different container shapes and sizes to create unique candles.With these simple steps, making your own homemade candles is easy and fun. Not only will you enjoy a warm and inviting atmosphere, but you will also have the satisfaction of creating something beautiful and unique. So why not give it a try and impress your loved ones with your homemade candles?