Introduction
If you're tired of the generic phone cases available in stores, why not try creating your own personalized phone case? Not only is it a fun and creative project, but it also allows you to showcase your unique style and tastes. In this DIY tutorial, we'll guide you through the steps to create your very own customized phone case.
Materials Needed
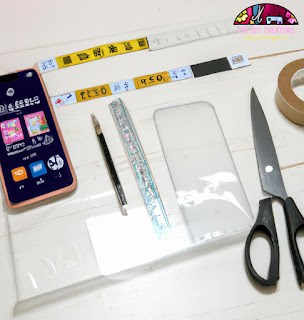
- Clear phone case- Printed image or design- Scissors- Double-sided tape- Craft knife- Ruler- Pencil
Step-by-Step Instructions
1. Start by selecting an image or design that you would like to use for your phone case. This could be a photograph, a pattern, or even a drawing that you have created yourself.
2. Print out the image or design onto a piece of paper that is the same size as your phone case.3. Cut out the image or design using scissors.4. Place the cut-out image onto the back of the clear phone case and use double-sided tape to secure it in place.
5. Use a ruler and pencil to mark the edges of the phone case onto the paper. This will act as a guide for the next step.
6. Using a craft knife, carefully cut around the edges of the phone case on the paper. This will create a template for the phone case.
7. Place the template onto the back of the clear phone case and use a craft knife to cut around the edges of the case. Be sure to cut along the edges of the template to create a precise fit.
8. Once you have cut along the edges of the template, remove the paper and your customized phone case is complete!
Conclusion
Creating your own customized phone case is a fun and easy way to showcase your personal style. With just a few materials and some simple steps, you can transform a plain phone case into a unique and personalized accessory. Give it a try and see how creative you can get!


No comments:
Post a Comment